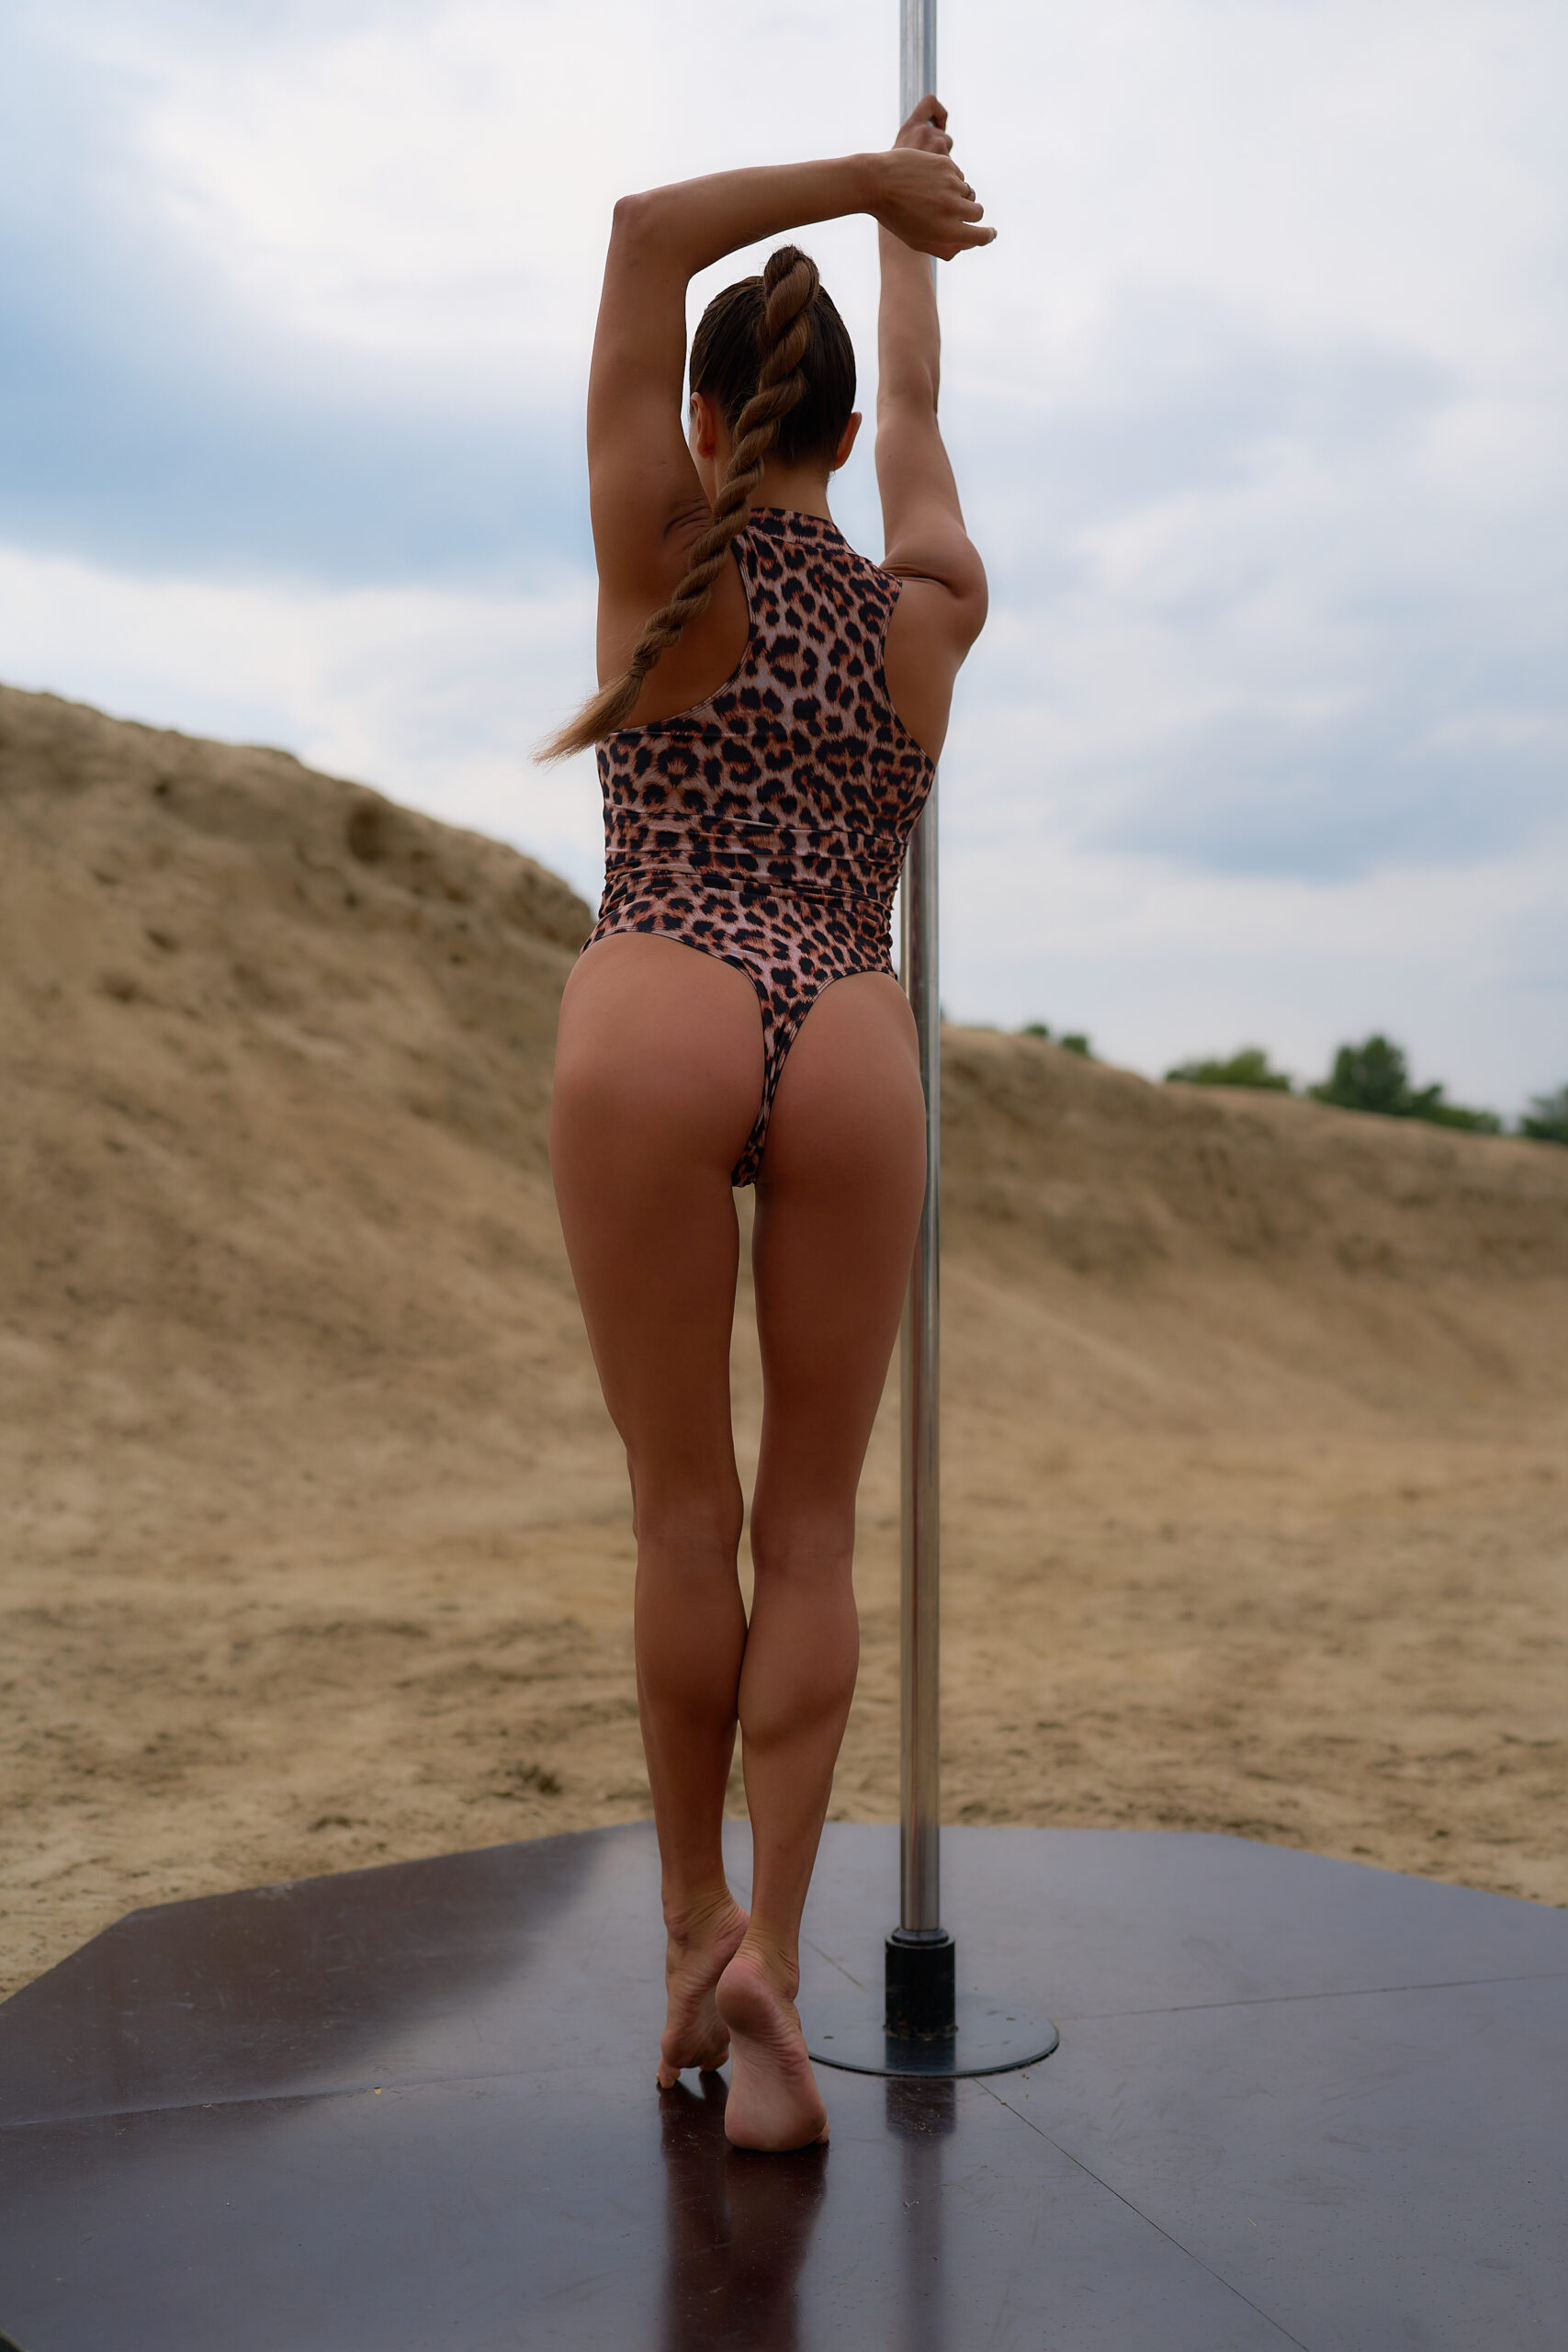
How to Film Your Pole Dance Progress: Angles, Lighting, and Gear
Documenting your movement journey is one of the most rewarding parts of learning pole fitness, exotic pole, or aerial arts. Watching videos of your early sessions side-by-side with your latest routine reveals the subtle, beautiful transformations in your technique—cleaner leg lines, smoother transitions, confident spins, and newfound strength.
However, recording pole dance isn’t like filming standard workouts. The apparatus requires dynamic spatial awareness, 360-degree rotation, vertical climbs, and fluid floorwork. A poorly angled camera can obscure skin-to-pole contact points, hide your lines, or chop off your inversions mid-trick.
To help you build a clean digital archive of your hard work, we have compiled the ultimate guide on how to build a reliable pole dance recording setup, select flattering angles, master studio lighting, and curate outfits that look stunning on camera.
1. Setting Up Your Space: Distance, Placement, and Framing
Before hitting record, evaluate your studio space or home training zone. The biggest mistake dancers make when learning how to film pole dance progress is placing the camera too close to the apparatus. Pole art spans vertical, lateral, and ground dimensions, meaning your setup must capture high climbs, low floor transitions, and wide dynamic sweeps without clipping your limbs out of the frame.
Position your camera or smartphone at least 8 to 12 feet away from the base of your pole. If you train in a compact room, consider using a wide-angle lens attachment or setting your smartphone camera to 0.5x mode. When framing the shot, leave ample breathing room above the top of your pole and below the floor level. This extra space prevents your hands from vanishing off-screen during an inversion or your toes from getting cut off during a split.
Elevating your camera is equally important. Placing your device directly on the floor tilts the perspective upward in a harsh perspective distortion, making the pole look skewed and altering your body proportions. Invest in a sturdy tripod or surface mount that allows you to position the lens at around chest or hip height. Keeping the lens level with your center of gravity preserves your true body lines and creates a natural, aesthetic proportion in every frame.
2. Choosing the Best Camera Angles for Pole Tricks and Routines
Angles play a crucial role in how your movement translates on camera. A trick that feels powerful in your body might look flat or confusing from the wrong perspective. Mastering camera placement requires matching your angle to the specific trick or style you are recording.
For inverted strength moves such as the Aysha, Butterfly, or Shoulder Mount, position your camera at a 45-degree diagonal relative to your entry point. Straight-on front shots often compress depth, making it hard to see the space between your body and the pole. A slight diagonal angle captures the precise alignment of your hips, the push-pull mechanics of your grip, and the depth of your leg extension.
When filming floorwork, low transitions, or heels choreography, try experimenting with a lower tripod setting tilted slightly upward. This angle elongates your legs, highlights ankle extension, and captures the fluidity of body rolls and leg sweeps. For static pole spins and dynamic momentum tricks, set the camera directly facing the broad side of your movement plane so the full trajectory of your momentum stays in clear view.
3. Lighting Essentials: Highlighting Lines and Eliminating Shadows
Even the most technical trick can get lost in muddy lighting. Proper illumination adds depth, defines muscle tone, and gives your videos a professional aesthetic. You do not need expensive production lights, but following basic lighting physics will completely transform your video quality.
The golden rule of these pole video tips is simple: position your primary light source behind the camera, shining toward you. Avoid standing directly in front of bright windows or unshaded studio lamps, as backlighting turns your body into a dark silhouette, obscuring skin contact points and fine details. If natural sunlight is available, face the window so soft daylight evenly covers your body.
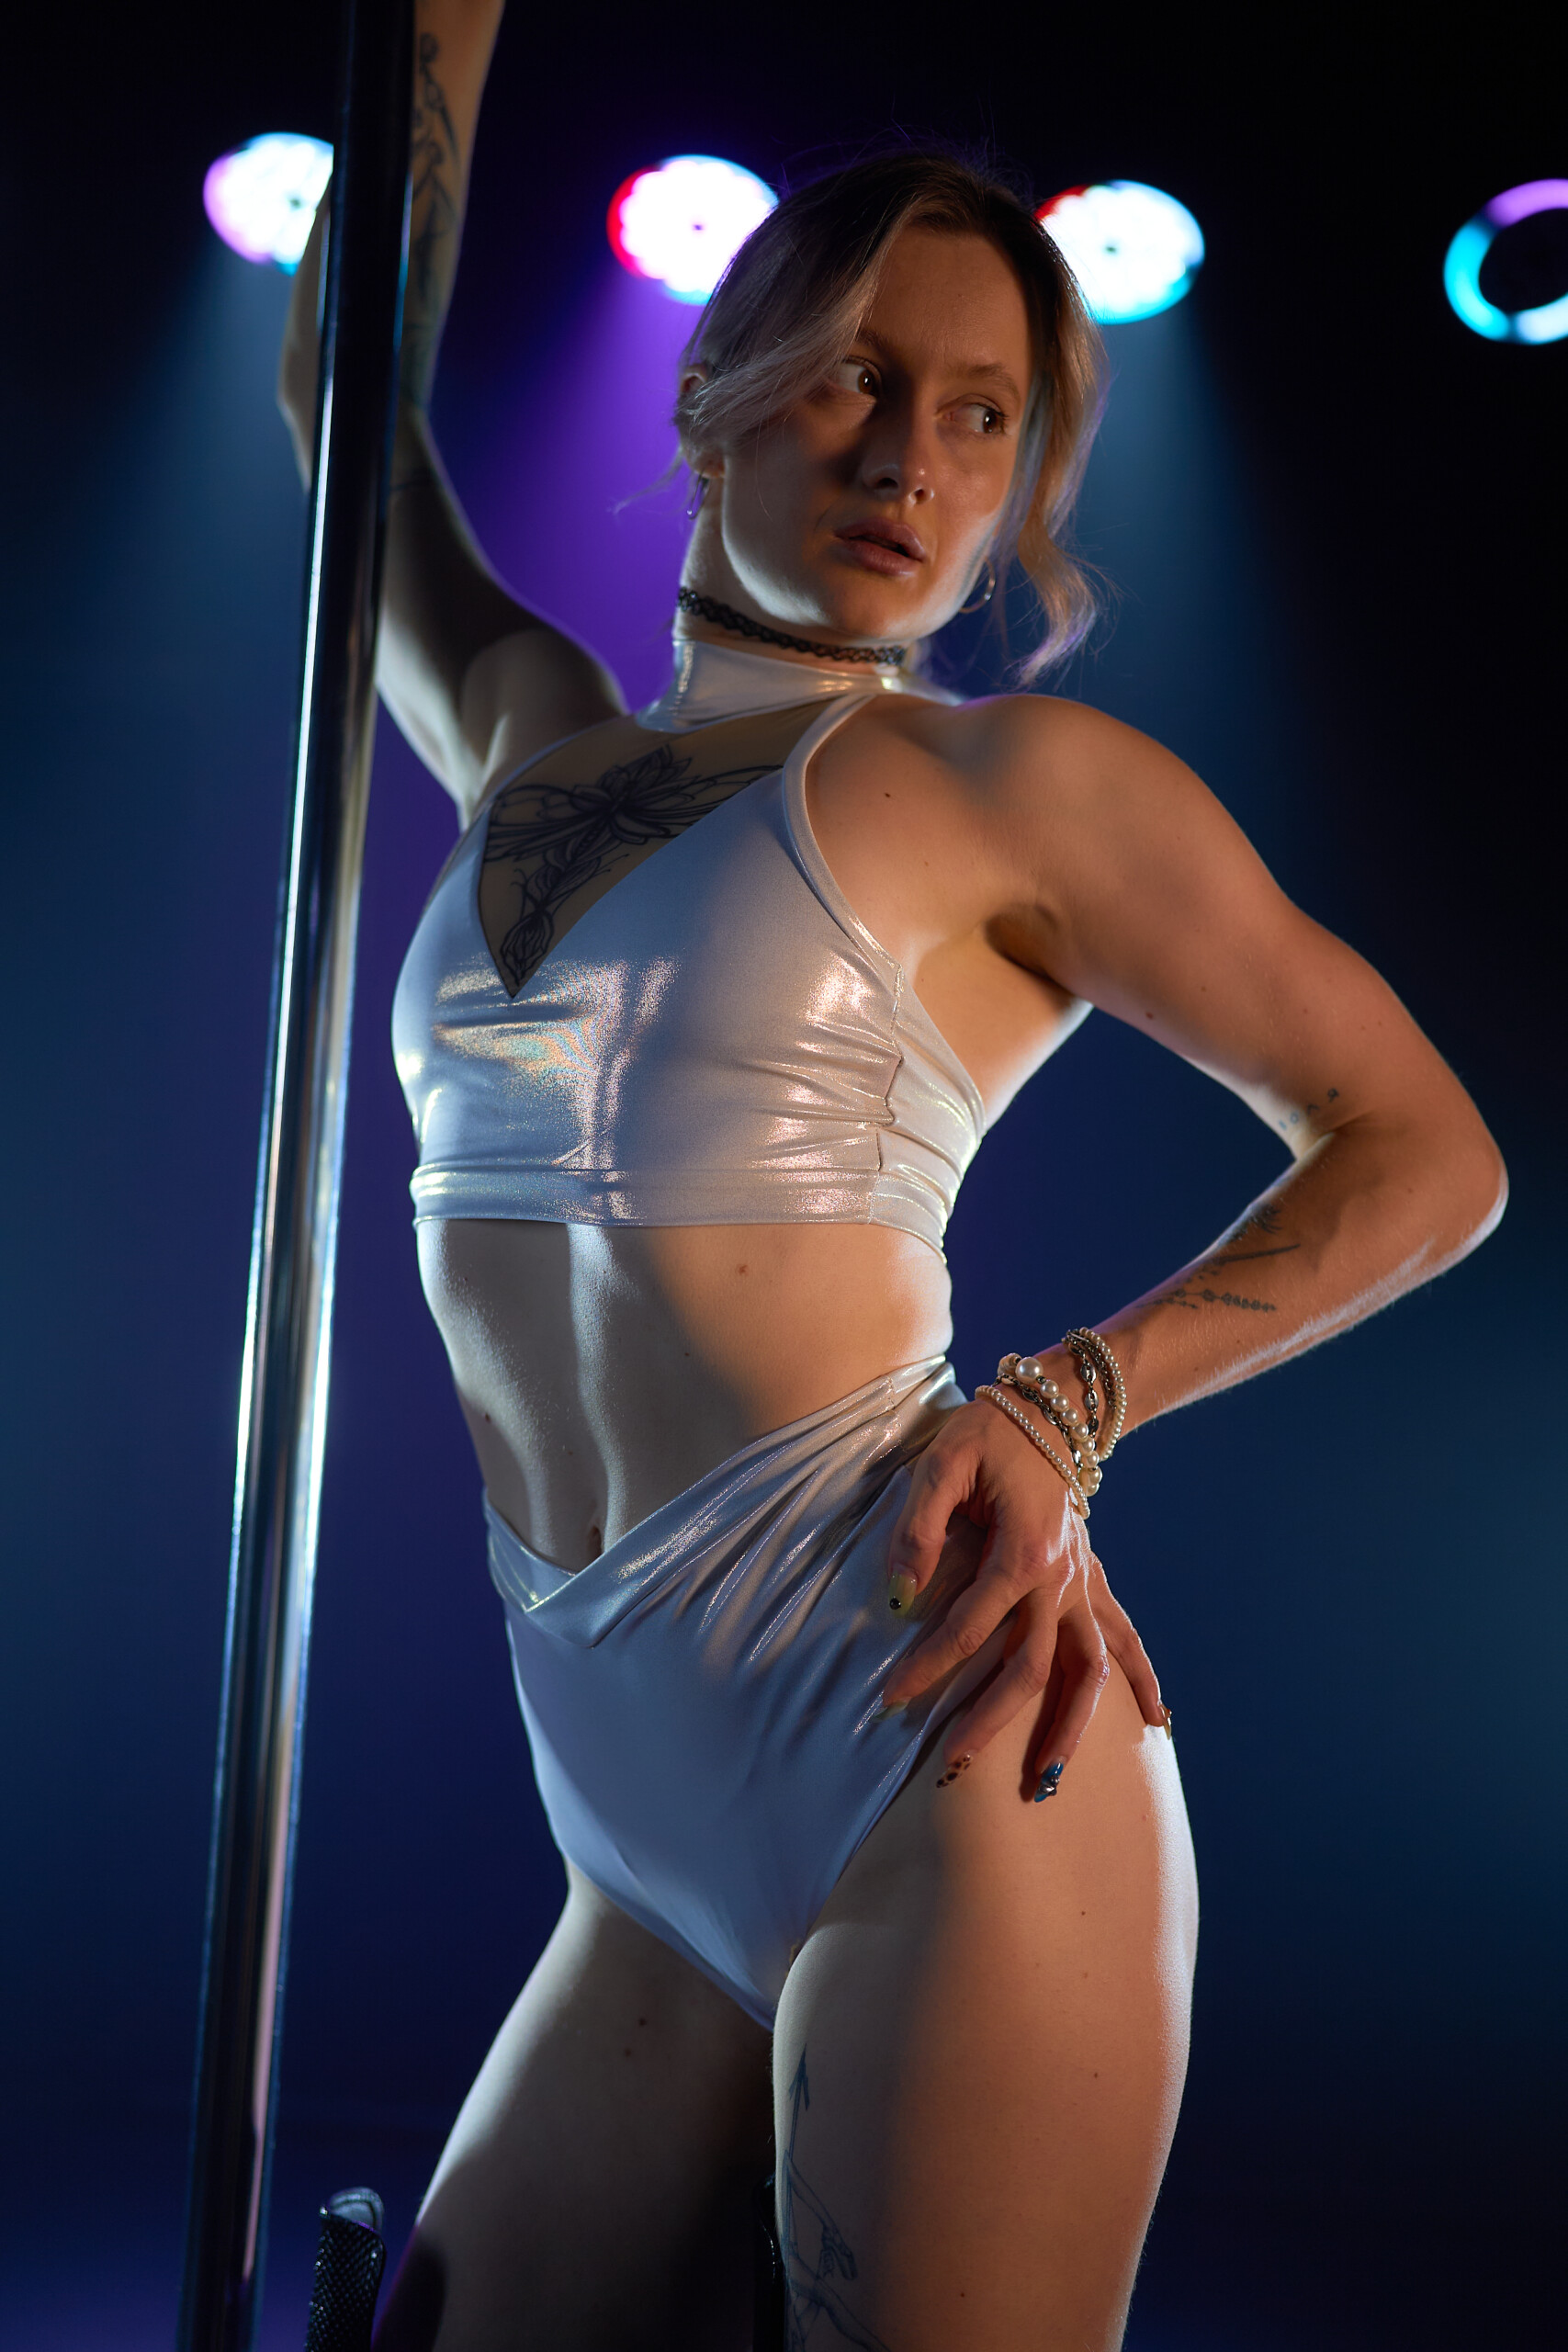
If you train in dimly lit studios or at night, continuous LED key lights or dimmable ring lights are essential additions to your setup. Soft, diffused lighting works best because harsh direct bulbs cast distracting shadows across the floor and walls. Position two light sources at 45-degree angles in front of you to eliminate harsh shadows, bring out muscular definition, and keep your movement sharp even in high-speed rotations.
4. Essential Gear for a Seamless Pole Dance Recording Setup
Creating a seamless studio workflow means having equipment that keeps your focus on training rather than troubleshooting technical glitches. A reliable pole dance recording setup consists of hardware that protects your device, simplifies filming, and ensures smooth footage.
- Sturdy Adjustable Tripod: Avoid balancing your phone against water bottles, blocks, or shoes. Use a tripod with flexible legs or a heavy base that withstands floor vibrations when you land dynamic tricks.
- Bluetooth Remote Shutter: Constantly walking back and forth to touch your phone screen disrupts your flow and wastes energy. A small Bluetooth clicker lets you start and stop recording right from the pole.
- Magnetic or Suction Mounts: Ideal for studio mirrors or metal beams, compact magnetic mounts offer versatile placement options without taking up floor space.
- Wide-Angle Lens Adapter: If your training space is small, an add-on lens helps you capture full vertical climbs without camera distortion.
- Portable Power Bank: High-definition video recording drains batteries quickly. Keeping a power bank nearby keeps your phone charged through long practice sessions.
Having the right gear ready allows you to maintain continuous momentum during your training, turning quick record-and-review cycles into an effortless habit.
5. What to Wear: Outfits that Look Incredible on Camera
Your choice of pole wear directly impacts both your physical performance and how your movement renders on video. High-performance pole apparel needs to deliver maximum grip, flexibility, and comfort, while also creating clean, eye-catching silhouettes that stand out against studio backgrounds.
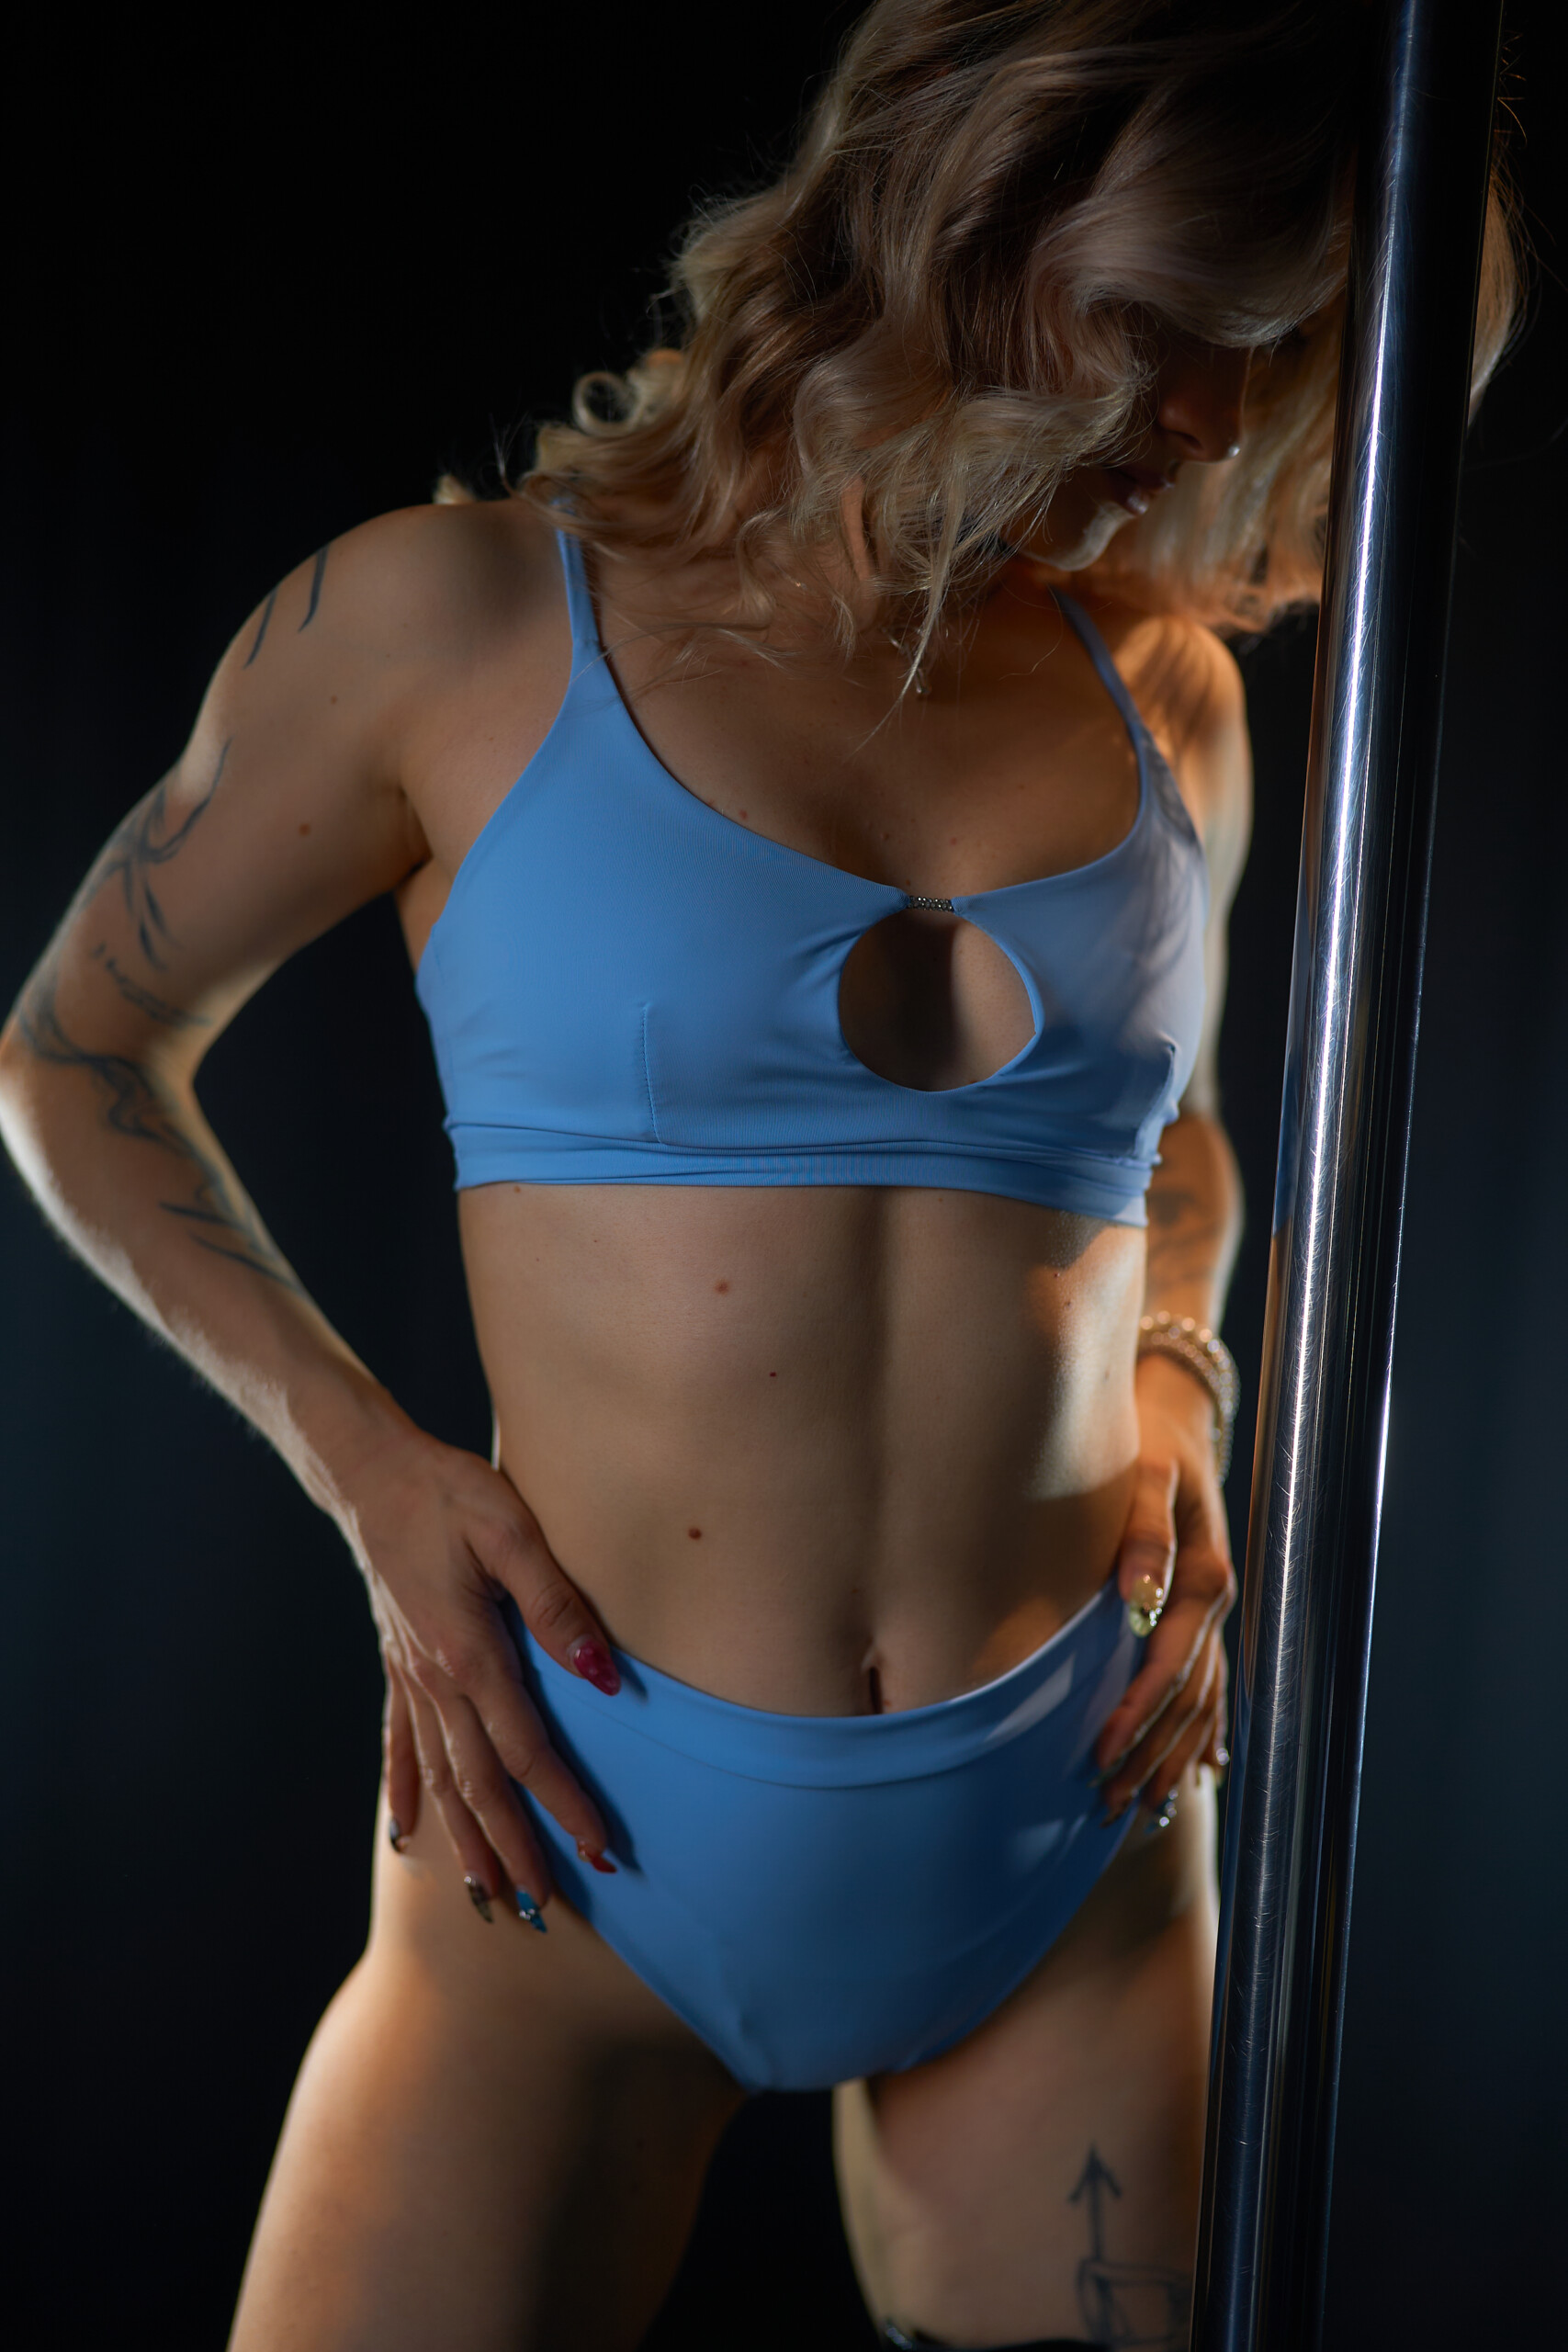
To make your lines pop on camera, pay close attention to color contrast. If your studio features dark floors and walls, choose bold, vibrant colors or lighter pastels to keep your body from blending into the background. Conversely, if your studio has bright white walls, deep rich shades or high-contrast prints enhance visibility and draw focus to your movement path.
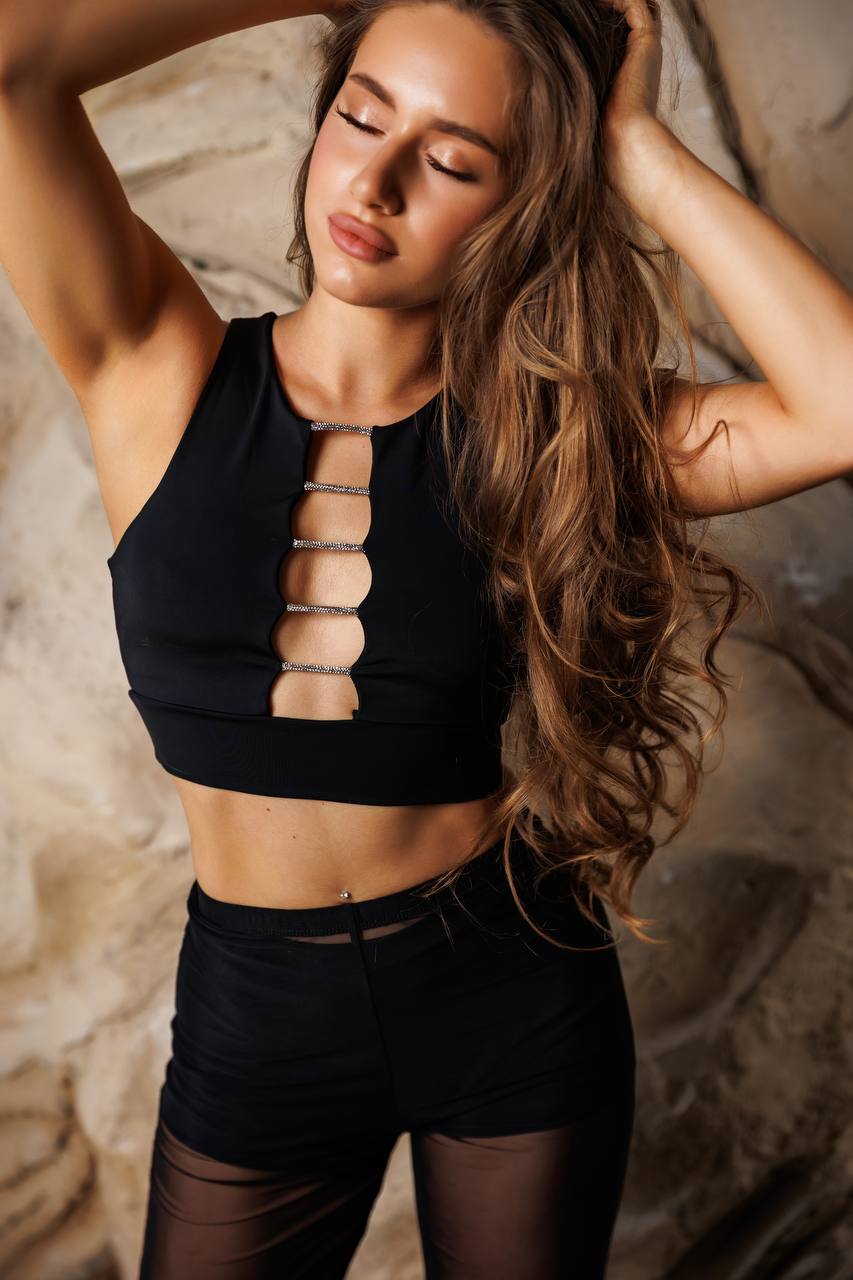
Form-fitting cuts with sharp, elegant lines showcase your extension, hip alignment, and leg engagement. High-waisted bottoms, supportive tops, and sleek bodysuits highlight your body mechanics, making it easy to review your form frame-by-frame. Explore the latest apparel engineered for movement and visual impact in the ArtGo Sport New Collection, designed to combine maximum grip with modern style.
6. Video Review, Analysis, and Progress Tracking
Capturing quality video is only the first step; analyzing your footage effectively unlocks faster growth in your practice. Recording every attempt gives you an unbiased look at your alignment, point of engagement, and movement tempo.
When reviewing your videos, focus on one technical detail at a time. On your first watch, look at your entry mechanics: Are your shoulders engaged before lifting off? Are your hands placed correctly? On the second watch, evaluate your lines: Are your knees fully extended? Are your toes pointed throughout the entire transition? Identifying these details visually builds stronger mind-muscle connection for your next attempt.
Organize your footage into monthly progress folders or a dedicated digital journal. Compare clips from three or six months ago to see how much lighter your inversions look, how much smoother your transitions have become, and how much confidence you have gained on the pole. Documenting your journey visually keeps you motivated and provides clear proof of your dedication.
Rate this post