
How to Set Up a Home Pole Dance Studio on Any Budget
Setting up a personal practice zone at home is one of the most exciting milestones for any aerial athlete or exotic dancer. The freedom to train on your own schedule, drill complex inversions without waiting for studio time, and flow in a space curated entirely for your comfort transforms how you progress. However, building a dedicated workout environment can feel overwhelming, especially when navigating ceiling heights, flooring requirements, dynamic load calculations, and equipment costs.
Whether you are renting a studio apartment, transforming a spare bedroom, or converting a garage, creating a safe and motivating sanctuary is completely achievable on any budget. The secret lies in understanding structural safety, choosing equipment that scales with your financial flexibility, and curating an environment that keeps you inspired to step onto the mat every single day.
Assessing Space and Ceiling Requirements
Before researching brands or budgeting for hardware, you must accurately evaluate your physical environment. A safe setup requires clear spatial clearance to prevent impact injuries during dynamic spins, leg hangs, and drops. Measure a circle with a minimum radius of 1.5 to 2 meters (5 to 6.5 feet) around the center where your equipment will stand. This ensures that when you stretch out during an extended body flag or sweep your legs in an exotic flow, you won’t collide with walls, sharp furniture corners, or light fixtures.
Ceiling height and structural integrity are equally vital. Standard home setups usually require ceilings between 2.2 and 3 meters (7.2 to 9.8 feet). Using a tape measure, measure the height from floor to ceiling at the exact spot you plan to practice, checking multiple spots to ensure your ceiling isn’t uneven. Never install equipment directly against drywall, suspended drop ceilings, or hollow decorative beams, as these materials cannot withstand the lateral pressure and force generated during spin mode or dynamic tricks.
If you live in a rented space or share a home, non-permanent solutions are key. Removable tension-mounted hardware allows you to build a secure training corner without drilling into structural supports. Always use an electronic stud finder to locate solid wooden ceiling joists or identify concrete beams before applying pressure. Confirming a solid anchor point protects your living space while keeping your training environment safe for heavy dynamic conditioning.
Choosing the Right Pole on Any Budget
Selecting equipment tailored to your budget requires balancing affordability, durability, and installation style. Budget tiers generally fall into three distinct categories: low-cost temporary options, mid-range tension systems, and professional multi-piece setups.
For budget-conscious dancers or those renting temporary quarters, basic tension-mounted systems starting between $100 and $250 provide flexibility without requiring heavy permanent installation. Ensure you choose reliable brands featuring solid steel cores and dual-friction pressure plates. Mid-range options ($250 to $500) often introduce multi-finish options like chrome, stainless steel, or brass, along with quick-switching mechanisms between static and spin modes. Higher-end investments ($500 to $1000+) include free-standing podium stages that require no ceiling support whatsoever, making them ideal for high ceilings, outdoor practice, or open-plan homes.
Finish selection also directly impacts your grip and training experience. Chrome remains the standard across commercial studios due to its balanced stickiness and smooth surface for slides. Stainless steel is hypoallergenic and highly resistant to rust, making it excellent for high-humidity environments or dancers with sensitive skin. Brass provides extra natural grip for trick-heavy sessions, while powder-coated poles offer high friction for dancers who train in cooler climates or struggle with slick hands.
When selecting equipment, always prioritize safety certifications and genuine customer reviews over unbranded, ultra-cheap alternatives found on mass marketplaces. High-quality friction plates, heavy-duty pressure screws, and reinforced extension joints protect you from equipment failure when carrying out inverted tricks or heavy spins.
Navigating Safe Home Pole Installation
Executing a precise home pole installation guarantees that your rig remains immovable, perfectly upright, and safe under heavy rotational force. The step-by-step process requires patience, basic leveling tools, and strict adherence to weight ratings.
- Locate the Joist: Use a stud finder to identify a solid ceiling joist or concrete beam directly above your designated floor zone.
- Assemble the Base: Lay your base plate down, ensuring the floor surface beneath is clean, level, and free of moisture or slippery polish.
- Connect Extensions: Thread your structural extensions together according to your measured ceiling height, keeping threading straight and tight.
- Raise and Level: Lift the pole into place under the center of the stud. Use a spirit level on two perpendicular sides of the vertical shaft to ensure the shaft stands 100% plumb.
- Tighten Pressure Mechanisms: Adjust the main pressure adjuster expanding upward until firm contact is established against the upper ceiling plate, taking care not to over-compress drywall.
- Perform Safety Tests: Before climbing, pull firmly at hip height from multiple directions. Complete low-level spins before attempting higher inversions or dynamic maneuvers.
Regular maintenance checks should become part of your daily warmup routine. Double-check tension tightness, inspect safety lock rings, and wipe down the vertical pole surface to remove accumulated body oils or grip residue.
Essential Safety Gear and Floor Preparation
Safety during solo practice extends far beyond the central apparatus itself. Falling is a natural part of learning body awareness, conditioning, and new trick transitions. Investing in high-density crash mats is non-negotiable for anyone practicing at home without a spotter. Choose folding or round modular crash mats with a minimum thickness of 5 to 10 centimeters (2 to 4 inches), featuring high-density EPE foam designed to absorb impact energy.
Flooring quality beneath your setup also directly impacts floorwork safety and skin protection. Hardwood, laminate, and tight commercial carpets work best for footwork and transitions. If you practice on tile, concrete, or slick surfaces, consider laying down interlocking EVA foam tiles to create an insulated, shock-absorbing perimeter for floor choreography and low-flow tricks.
Personal protective equipment gives you the confidence to execute new transitions safely. Padded knee pads designed with specialized grip zones, joint support sleeves, and non-slip gloves reduce friction burns during floorwork while protecting joints from repetitive impact. Integrating functional protective gear allows you to extend practice sessions safely while building long-term stamina.
Creating an Inspiring Training Atmosphere
Your home space should be an inviting haven that sparks creativity and focus. Elevating your environment doesn’t require high expense—simple lighting, sound, and mirror placement adjustments transform a basic corner into a professional dance sanctuary.
- Lighting: Warm LED strip lights or dimmable smart bulbs set the mood for sensual flow sessions, while bright overhead light aids precision trick training.
- Mirrors: Full-length body mirrors positioned parallel to your main line of movement provide instant visual feedback on your posture, lines, and extension.
- Sound: A reliable Bluetooth speaker delivers deep, clear audio to keep you energized through intense conditioning routines.
- Grip Station: Keep a small tray nearby containing liquid chalk, micro-fiber towels, isopropyl alcohol spray, and skin moisturizers for quick mid-session adjustments.
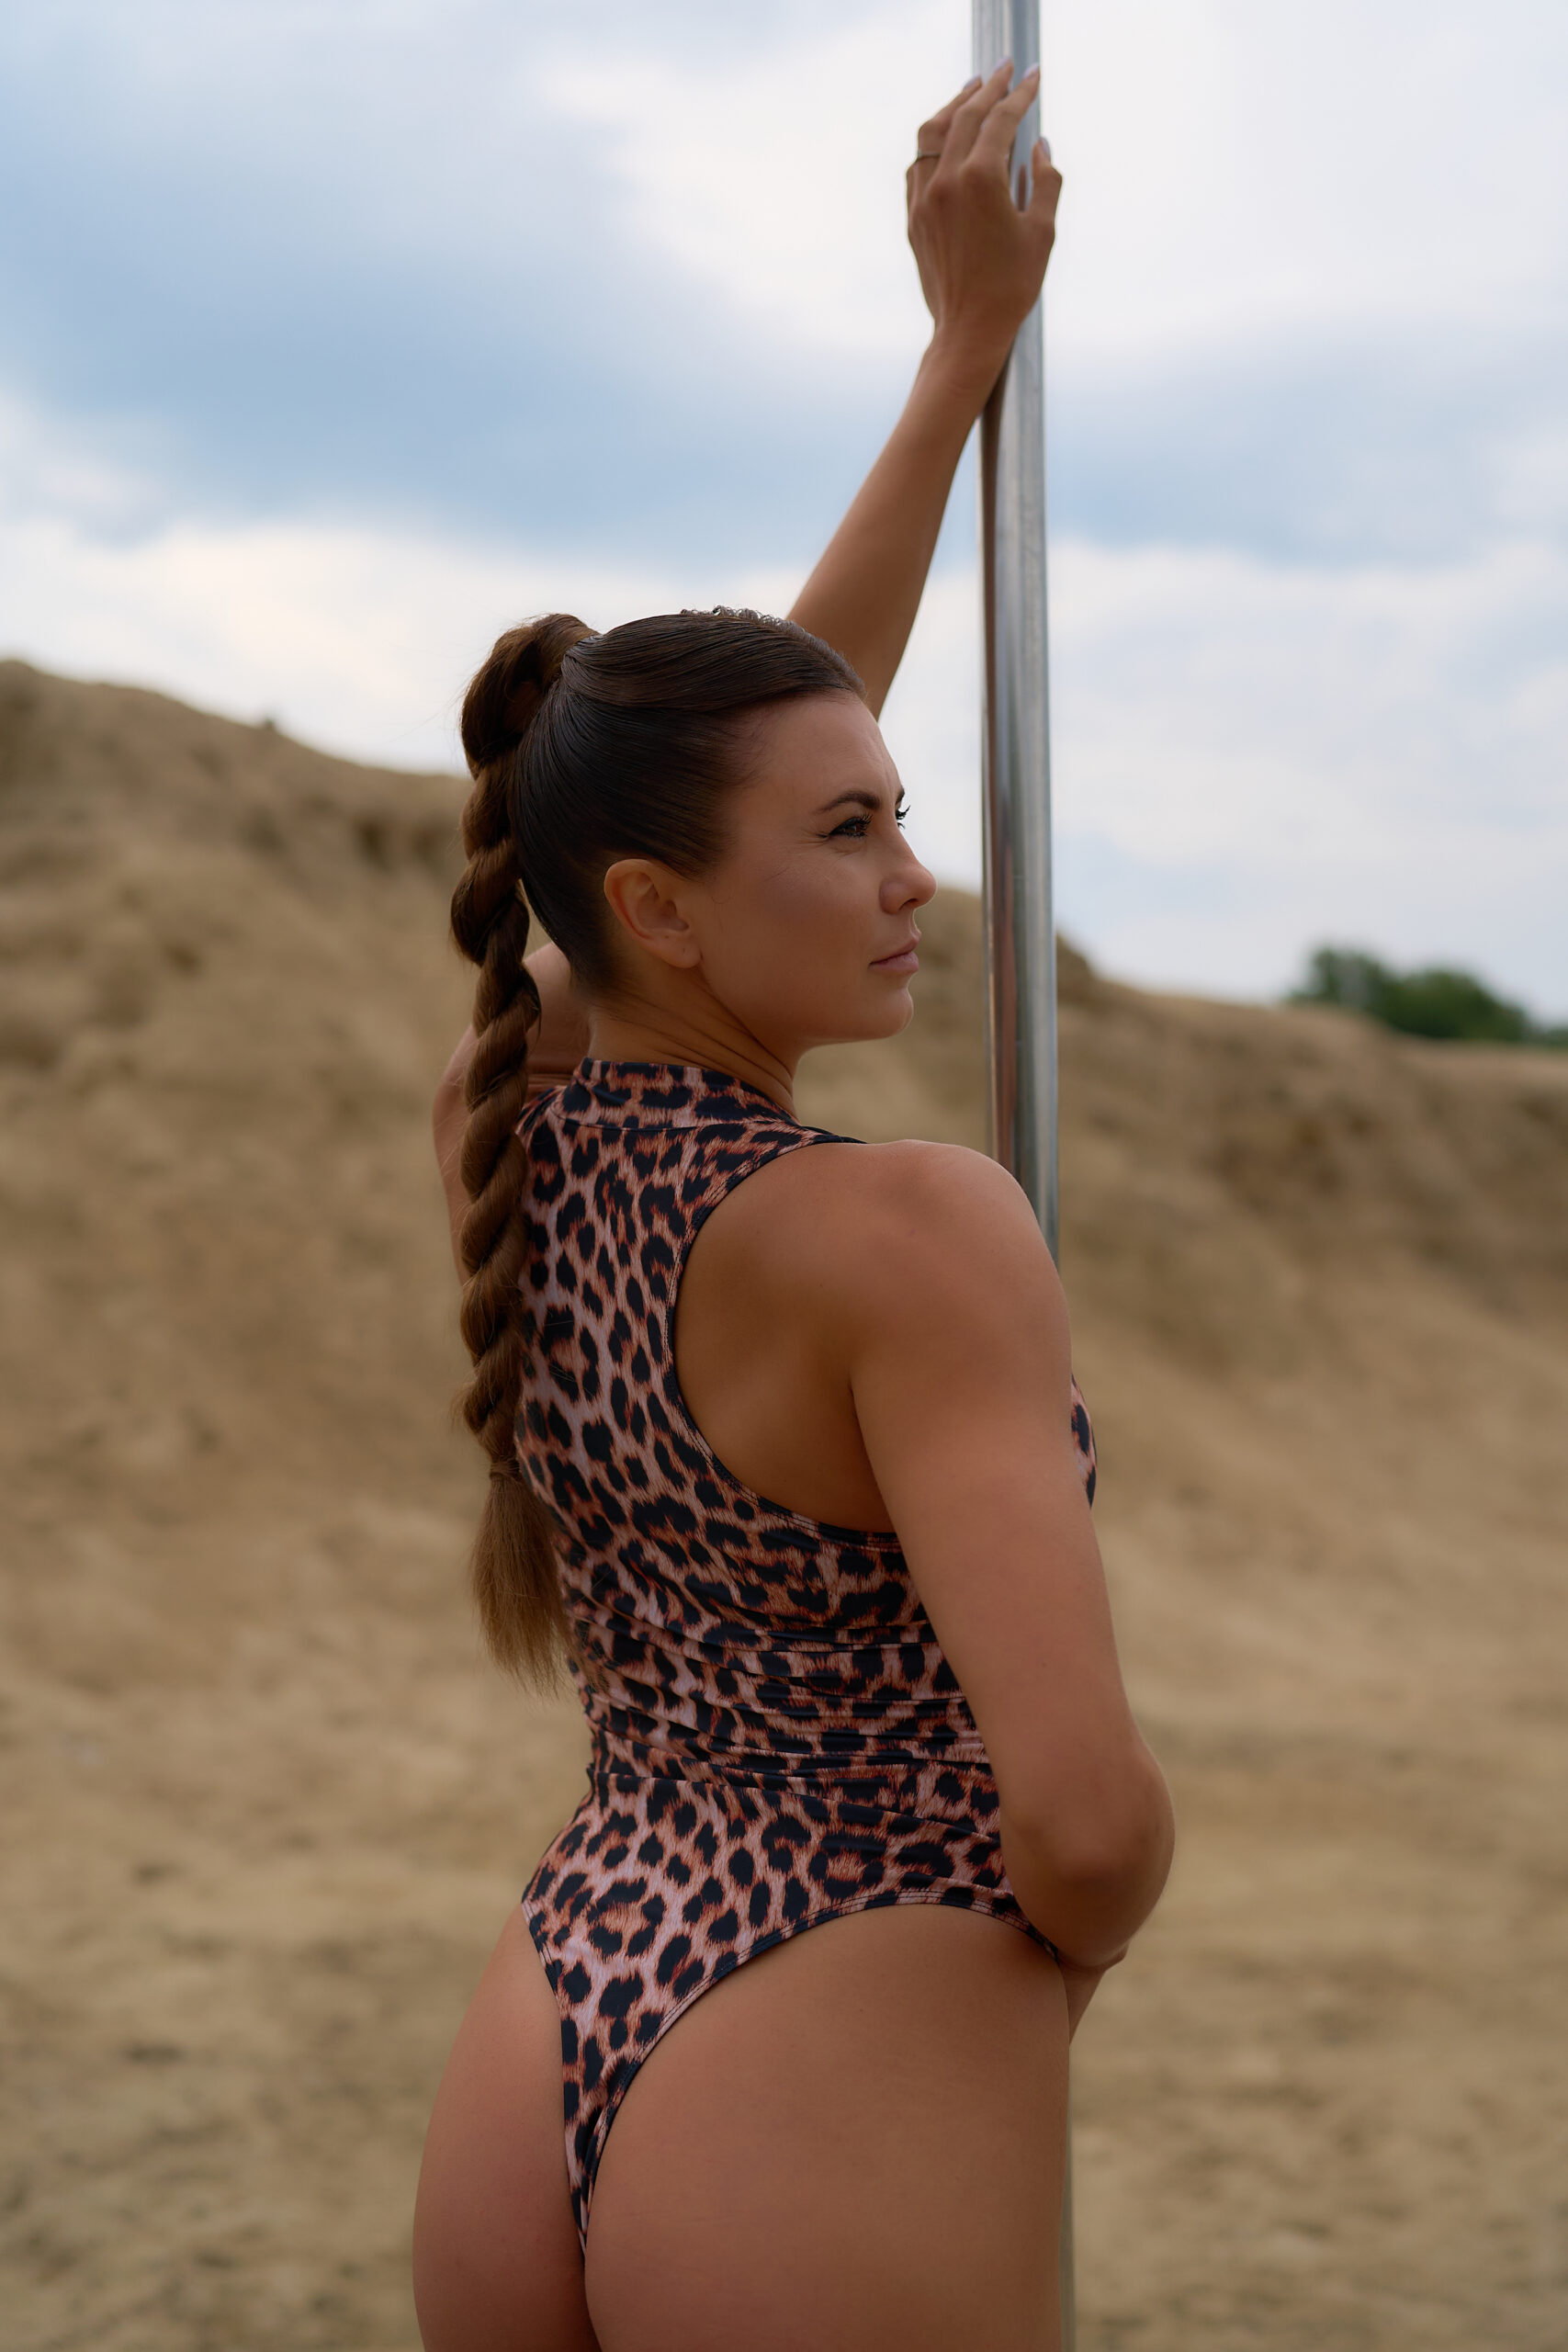
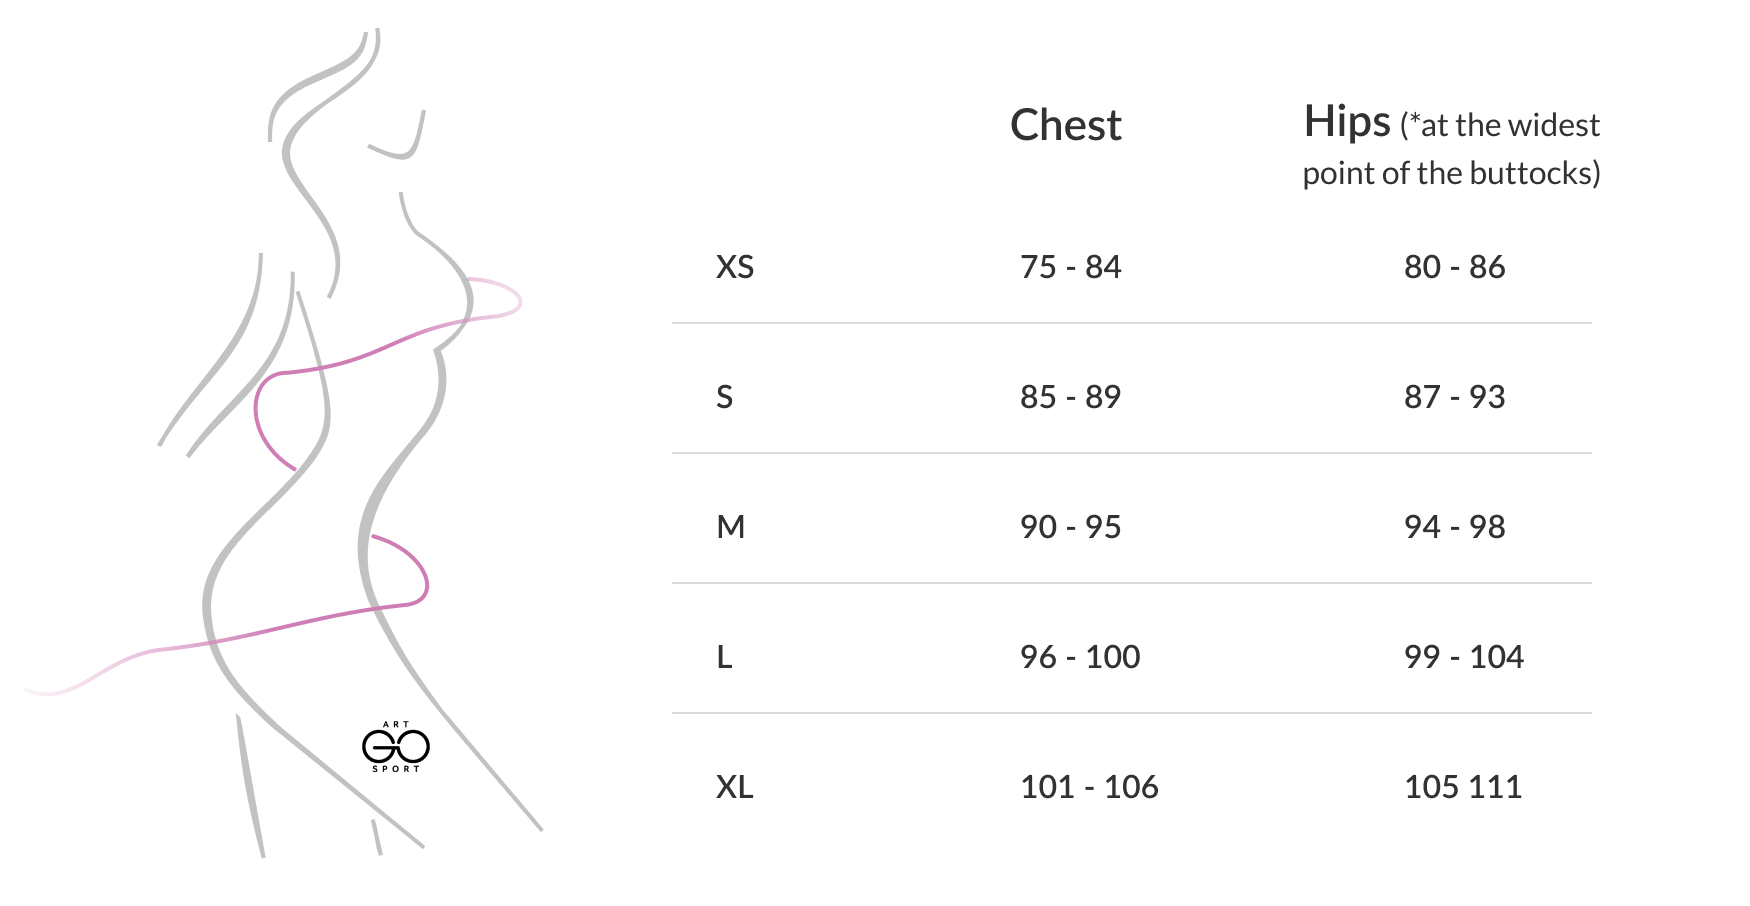
To elevate your movement and feel completely supported during home practice, wearing high-performance dance wear makes all the difference. Professional pole wear provides the ideal balance of skin exposure for optimal grip, breathable flexibility for deep splits, and structured support for inversion training. Explore the latest performance wear, supportive sets, and training accessories designed specifically for dancers in the New collection.
Budget-Friendly Upgrade Path
Building your ideal setup doesn’t have to happen overnight. Following a phased upgrade plan allows you to start training immediately while expanding your space over time as your budget permits.
Phase 1 focuses on essential setup priorities, including a quality tension-mounted pole, a basic high-density crash mat, and core grip products. This initial phase ensures total safety without requiring a heavy upfront financial investment.
Phase 2 introduces studio comfort features as your skills advance. You can add interlocking foam floor tiles for surrounding coverage, install a full-length wall mirror for real-time visual alignment, and invest in high-grip professional knee pads for intense floorwork.
Phase 3 completes your full sanctuary. This tier incorporates dynamic mood lighting systems, specialized wall-mounted equipment storage, and dedicated wardrobe additions tailored for performances and photo sessions.
Maximizing Small Spaces and Shared Living
If you are working with limited floor space, adaptability is crucial. Choose collapsible crash mats that fold into quarters for easy storage under a bed or inside a closet. Wall-mounted hooks keep grip rags, resistance bands, yoga blocks, and knee pads off the floor, keeping your workout area clean and organized.
Communication with housemates or landlords helps avoid misunderstandings regarding structural usage. Demonstrating that tension-mounted equipment uses broad distribution plates to protect ceilings builds trust while protecting your security deposit. When training in shared spaces, establishing clear boundaries around practice times ensures uninterrupted focus during conditioning and flow development.
Essential Pole at Home Tips for Safe Daily Practice
- Always Warm Up Thoroughly: Never jump straight into inverted tricks without activating your shoulders, core, wrists, and hip flexors.
- Clean Your Equipment Daily: Clean your apparatus using 70% isopropyl alcohol to remove grip buildup and maintain traction.
- Practice Self-Spotting: Learn how to slide out of tricks safely close to the floor before attempting them at full ceiling height.
- Dress for Performance: Wear specialized dance clothing that offers skin-to-metal friction where needed, while protecting dynamic friction points like knees during floor transitions.
- Listen to Your Body: Take adequate rest days to prevent overuse injuries in your shoulders and forearms.
Developing consistent home pole dance studio setup habits requires patience, discipline, and attention to technique. Tracking your progress through video recordings helps you refine form, celebrate small victories, and stay motivated as you master challenging maneuvers in your private workout space.
Conclusion
Creating a functional, safe, and beautiful home dance space is fully achievable regardless of your starting budget. By prioritizing ceiling safety, selecting reliable apparatus finishes, investing in impact-absorbing crash mats, and setting up a motivating atmosphere, you establish a solid foundation for continuous growth. With the right setup, quality training wear, and a dedicated routine, your personal home dance zone becomes a powerful launchpad for your artistic and physical progression.
Rate this post